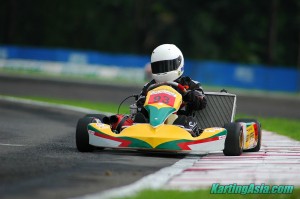
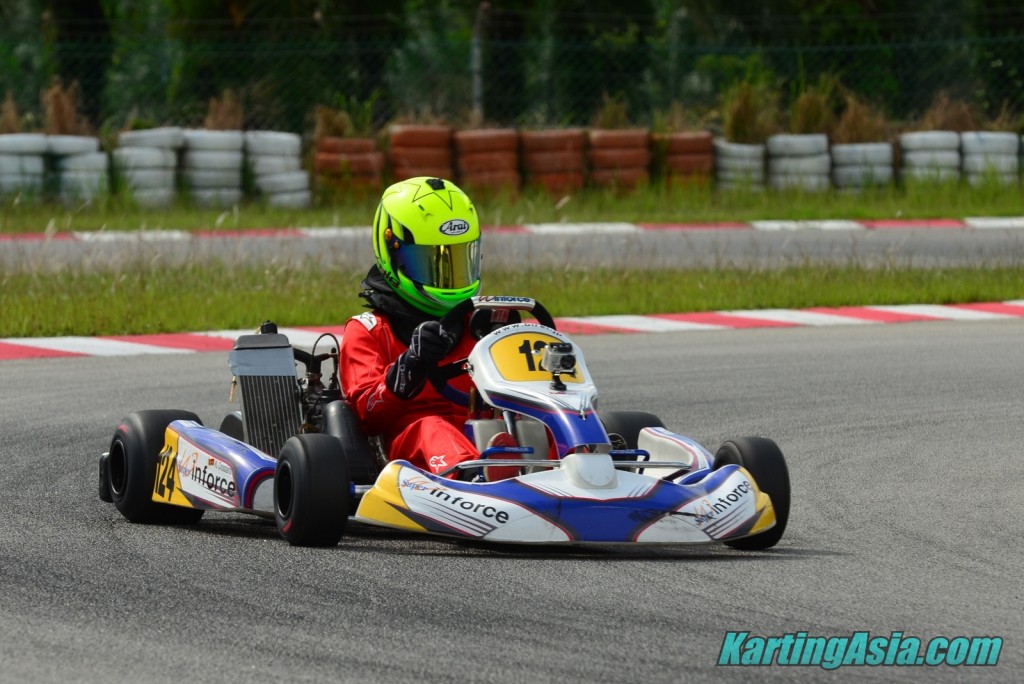
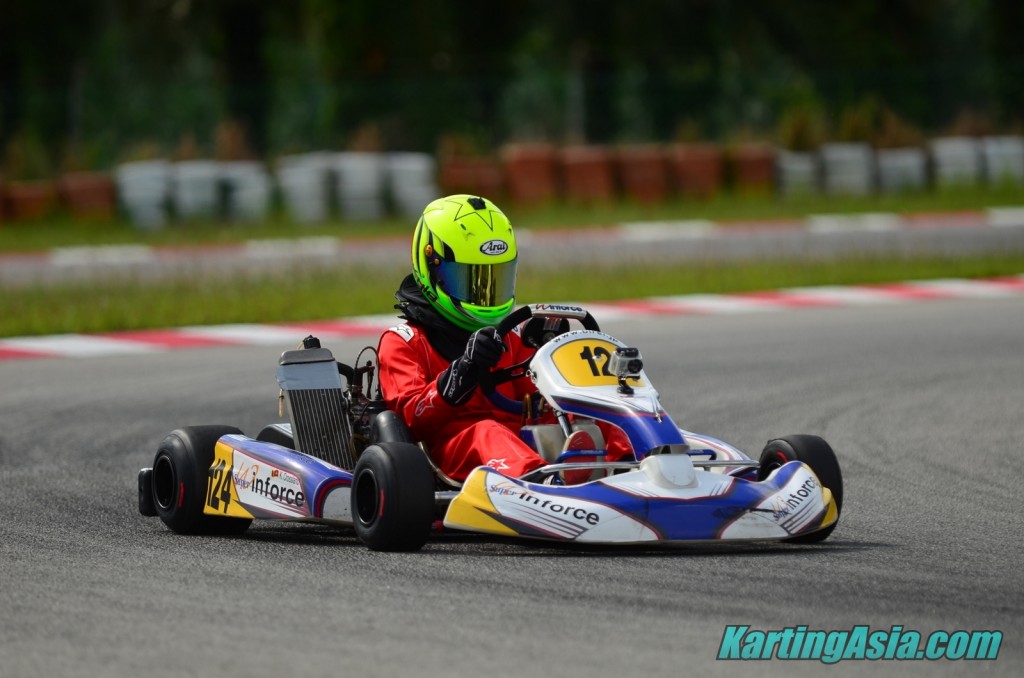
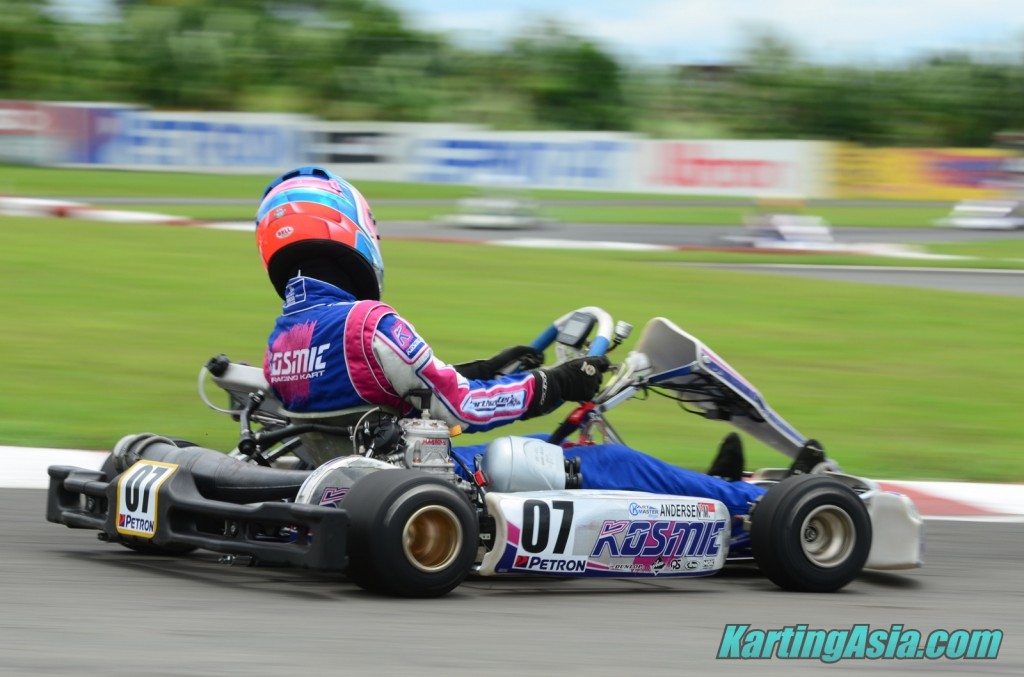
Karting is a great sport for photography, and many karters have their own camera gear that they put to use when not racing. Hopefully this article will help you get the best out of your equipment. While you can get great shots with almost any type of camera, I’m mainly going to cover DSLR camera techniques, but most tips can be used even with point-and-shoot cameras (especially if they have some manual control). This article’s focus is for on-track shots rather than pit shots.
Are the terms depth-of-field, shutter speed, aperture, and ISO completely foreign to you? I recommend browsing the links at the bottom of the article, because I won’t go into in-depth explanations on the terminology here. When I mention products on this page the links are to product pages on Amazon.com. If you purchase a product (any product, camera related or not) after following a link from here, I get a small percentage of the purchase which helps run this website and bring you more quality articles such as this one.
All pictures on this page are taken by myself, and you can click on the images to open a higher resolution version.
Skip ahead:
- What gear to use?
- Camera settings
- Framing your shot
- Get low for the best pictures
- Using Depth-of-Field
- Panning technique
- Break the Rules
What kind of gear?
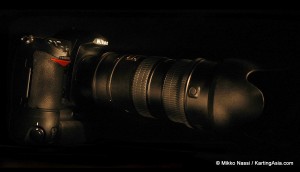
Ideally you’ll want a Digital SLR with a lens that reaches at least 200mm. On most budget or prosumer DSLRs a 200mm lens will be roughly equivalent to a 300mm lens in the field of view it gives you because of the crop factor. If you have a full-frame digital camera you’d want a lens that goes to about 300mm. On some larger tracks you might find that the 200mm limits you a bit because you can’t get close enough to the action, but on most tracks that isn’t an issue.
The performance gained with a more expensive camera isn’t even close to being on-par with the difference in cost. Save some money on the camera and put it towards your lens collection. The other important difference you might find in cheaper vs expensive DSLR cameras is the focusing speed, but that is also greatly affected by your lens. Often the medium-range or “prosumer” cameras have focus performance just as good as the “pro” cameras you pay 5 times more for, and even the cheapest DSLR cameras today have adequate auto-focus performance.
My advice is to get the best lens(es) you can afford, while taking into consideration how compact you want your camera gear to be. A 70-200mm/F2.8 lens is excellent for karting, but fairly heavy to carry around, so you might be happier with a 70-200/F4. You can get fairly close to the action at most tracks, and a ~300mm reach is plenty (when you factor in the crop factor of a non-full frame camera, 200mm is roughly equivalent to 300mm on a full frame camera). The cheaper option is a 70-300/f3.5-5.6 or similar lens, which doesn’t quite give you the same quality or control over depth of field, but it does give you reach and a light weight. I recommend getting a good quality 70-200 lens such as a sigma 70-200/2.8, rather than a cheaper 70-300 lens. You can also consider a lens such as the sigma 100-300/f4, would be great for karting.
With a 70-200mm or similar in your camera bag you would also want a wider angle lens, such as a 17-55/F2.8 which I use on my crop-frame camera. You can get the “kit lens” that comes with the camera, or buy the camera body only and opt for a better, more expensive zoom lens such as the 17-55 mentioned. You should also make room in your budget for an external flash
. Get one and learn to use it! It will make your pit shots and shots outside of karting much better than using the built-in flash, and you can get really creative with flashes. Flash isn’t useful only for indoor and night shots, but can make a big difference even in bright sunlight. In addition to a flash another critical part of your gear bag should be a quality monopod
. It saves your arms from the weight and improves your picture sharpness by limiting camera shake.
The main disadvantages of a non-DSLR camera such as a point-and-shoot is that you can’t get the narrow depth-of-field (out of focus background) because of the smaller sensor size, and often you are limited by the aperture settings which limits panning capabilities. On top of that there is of course the much slower auto-focus and speed of handling in general. Don’t be disheartened if all you have is a P & S camera though. Get creative and find ways to make your pictures stand out.
I won’t go much into specific camera models because the advice would be outdated fairly quickly. My preference is for Nikon DSLRs, and I currently use the Nikon D7000. Canon DSLRs will be just as good, and I’ve used plenty of them as well. You also can’t go wrong with the other big brands. If you’re looking at buying into a system it’s largely down to personal preference and which camera offers the best value-for-money at the moment of your purchase. Another thing to consider is if you have friends with one system (and a nice collection of lenses for you to borrow). My Nikon D70 is still a great camera for karting photography, and that is considered ancient by DSLR standards now. My current camera is a Nikon D7000, which is plenty of camera at a price that won’t bankrupt you. The auto-focus system is almost on-par with the most expensive Nikon cameras, and you have all the manual control you need. If you go one step above the cheapest range of DSLR offerings of any manufacturer you’re likely to have a very capable camera – something that will surpass the capabilities of a top of the line professional camera from not so many years ago in all aspects other than build quality. So just to drill it in once more – spend your money on the lenses!
Sometimes it’s the gear that you don’t even think about it that is important. Rain gear is critical if you don’t want to miss out on the amazing photo opportunities that rain + karting creates! If you don’t head out because you’re afraid your camera gear will get wet, you won’t have any shots to show for it. You can go expensive and get a nice jacket and Aquatech rain coversfor your camera. Or you can go much cheaper with one of the cheaper rain covers or DIY a rain cover from cheap rain pants, and use a disposable poncho or cut out a garbage bag to keep yourself dry. In the Sun you’re not worried about your gear much, but sun protection is important so that you can still take pictures the next day pain-free. Proper clothing + sunscreen is the answer.
Perhaps the most important advice on camera your equipment is to not be too worried about it. Even very average equipment in the hands of a capable photographer will make for awesome pictures. Don’t forget that a few decades ago motorsports photographers were taking stunning pictures on manual focus film cameras.
Camera Settings
Learn to get away from the camera’s auto and scene modes, such as “sports mode”. You will be a much better photographer when you understand how to use the shutter-priority, aperture-priority, and manual modes. For on-track karting photography I take about 75% of my pictures in aperture-priority mode (in order to control depth-of-field), 20% in shutter priority mode (mainly for panning), and 5% or so in manual mode (mainly for tricky lighting conditions).
The reason we don’t typically want to take pictures in program or auto-mode is because we have much less control of how the picture turns out. If you set your camera to sport mode and hope to get nice panning shots you’ll be disappointed because the camera will likely set the shutter speed to a very fast settings. Likewise if you are hoping to get a nice out of focus background and let the camera do the work it will likely go for a “safe” setting and you end up with a background that is in almost as good focus as the kart is.
A lot of cameras are fooled by the asphalt in karting shots and end up overexposing the pictures using matrix/pattern metering. Learn your camera and what works for it. With the matrix exposure setting on all Nikon cameras I have used I typically have to set -0.3 or -0.7ev to get the correct exposure for on-track pictures in bright sunlight. Learn what your camera likes.
Are the terms shutter & aperture priority, ISO, and depth-of-field foreign to you? Check the bottom of the article for a few photography 101 links.
Compose Your Shot!
Where should the kart be in your image to make for a pleasing shot? There are no strict rules for how to compose your image, simply because you can do the complete opposite of the recommendations and end up with an interesting image. Having said that, lets look at some guidelines that you can follow, and then proceed to break.
For a general idea of composition, learn about the rule-of-thirds (link at the bottom of this article). Don’t have the driver’s helmet smack in the in the middle all the time. It’s not a universal rule but it’s a good idea to avoid cropping your kart too tight – leave some breathing room for the kart to move into. If the kart is going from left to right in your image, leave some more space on the right of the kart so that you don’t get a claustrophobic look or make it look as if the kart is about to hit the edge of the picture frame.
You can also use the idea of leading lines – use the track or other objects to make the viewer’s eyes from from one edge or corner of an image to another.
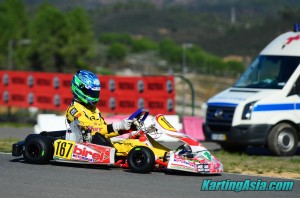
Perhaps one of the most important points on picture composition is to check the background! Light poles, ugly fences, tyre walls, marshals, scary clowns, other photographers, and parked cars can all ruin your otherwise great photo. The picture on the left is a good example. An otherwise good photo was ruined by an ambulance in the background.
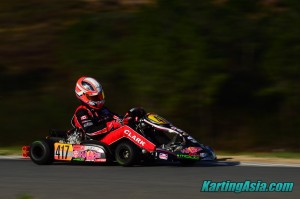
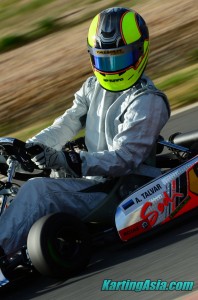
If you tilt your camera, do it for a reason. A lot of amateur photographers take pictures of karts with the camera at an angle. It seems to add another element to the image, but eventually the people viewing your pictures will get tired of tilting their heads! Have the angle follow a line such as the edge of the track, or the outline created by the driver’s body and the kart. In the picture to the right I’ve tilted the camera along to line-up with the driver’s helmet and body. If it was tilted more towards the right it would just look awkward.
Get low!
You want to get to the level of your subject, and karts are low, so that’s where you should be as well. If you’re standing up for all of your pictures you’re unlikely to get a lot of appealing shots. This is probably the most simple tip, but also the most effective to improve your pictures.
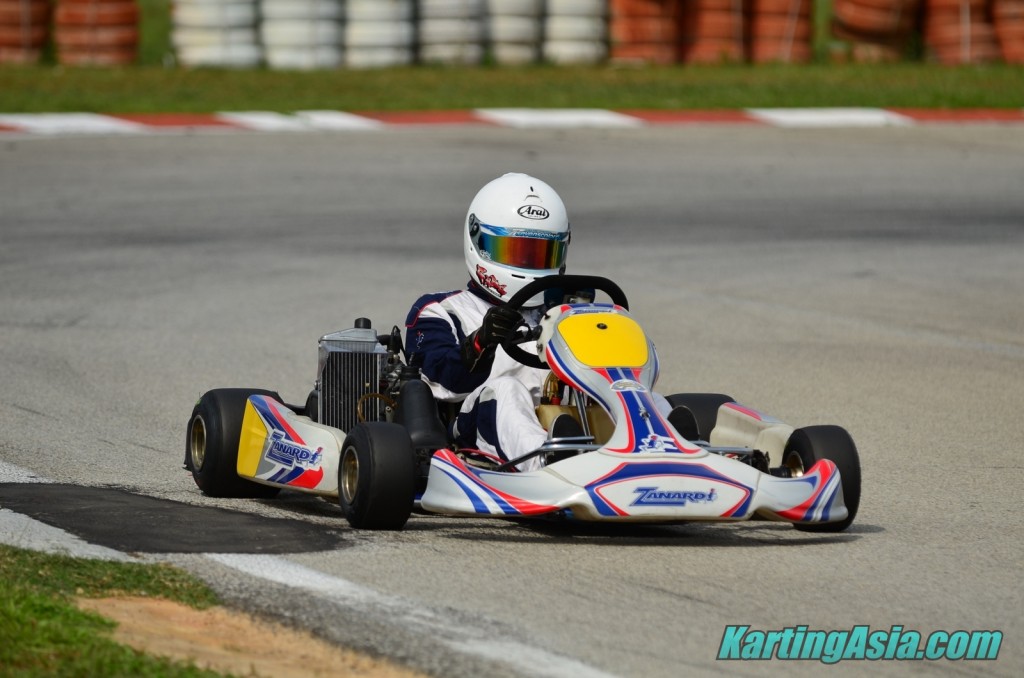
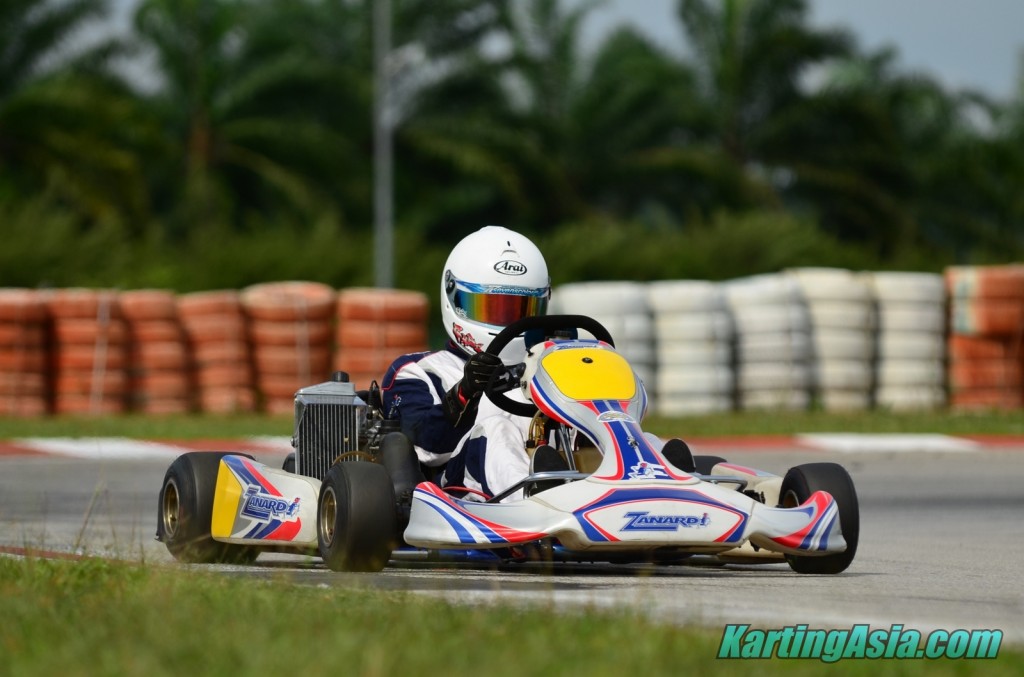
The two pictures below were taken from the same place with the kart at the same spot on the track, with the same camera settings. The only difference is that in the first shot I was standing up, while in the 2nd I was crouching down. Which one looks better?
The lower angle brings in the trees and sky, a bit of a background, and effectively makes the DOF look shallower because you have more foreground out of focus. It also got rid of the ugly patch of sand.
That’s not to say that you can’t get any good pictures standing up – there are plenty of times you can get interesting angles standing up, but most of your time should be spent with the camera at kart-height, rather than above it. When standing up always explain to yourself why you are standing up – how does it make the picture better than crouching down?
Use Depth-of-Field to your advantage:
When you take pictures of a kart head-on or at a 3/4 view as pictured below, getting the background out of focus makes the picture much better to look at. It focuses the viewers attention on the part of the picture that is in sharp focus.
To get a narrower depth of field (less in focus and more out-of-focus background), you need to set the camera to a large aperture (small number), such as F4, or as large as your lens goes. It’s also important to zoom in as far as possible for maximum DOF. If you are standing 5 meters from the edge of the track and you have the kart fill the entire field but you aren’t zoomed in all the way, you can step back a few meters, zoom-in, and you’ve created yourself a shorter DOF.
In the pictures below you can see the difference between a picture shot at F3.2, and the other at F9, zoomed in at a maximum of 200mm the lens is capable of. Pay attention to the focus of the background.
Panning
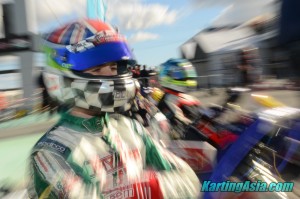
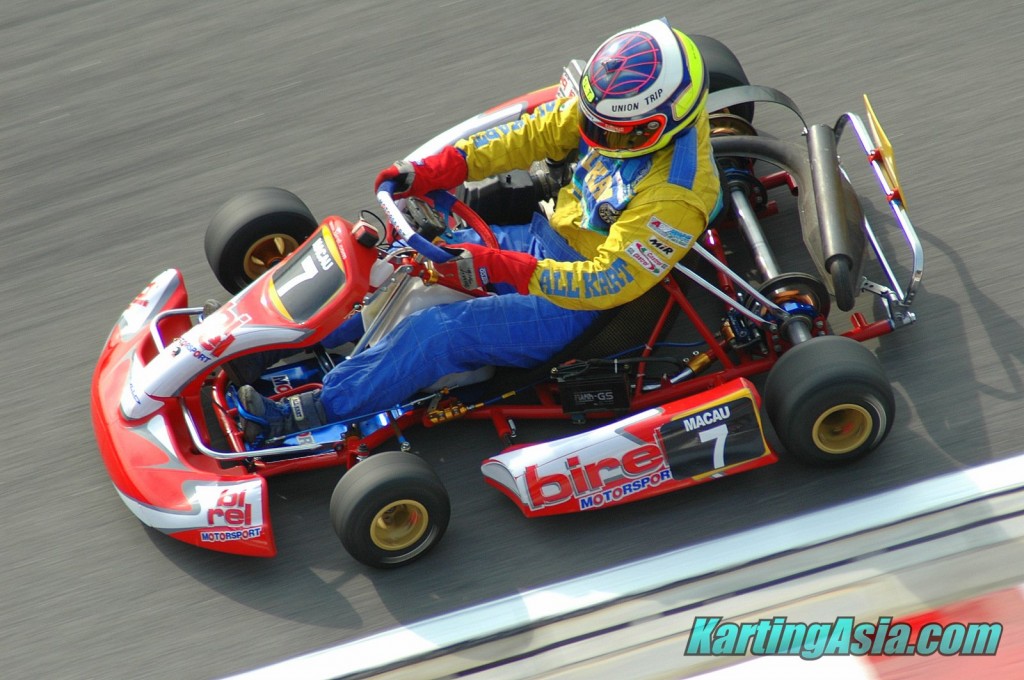
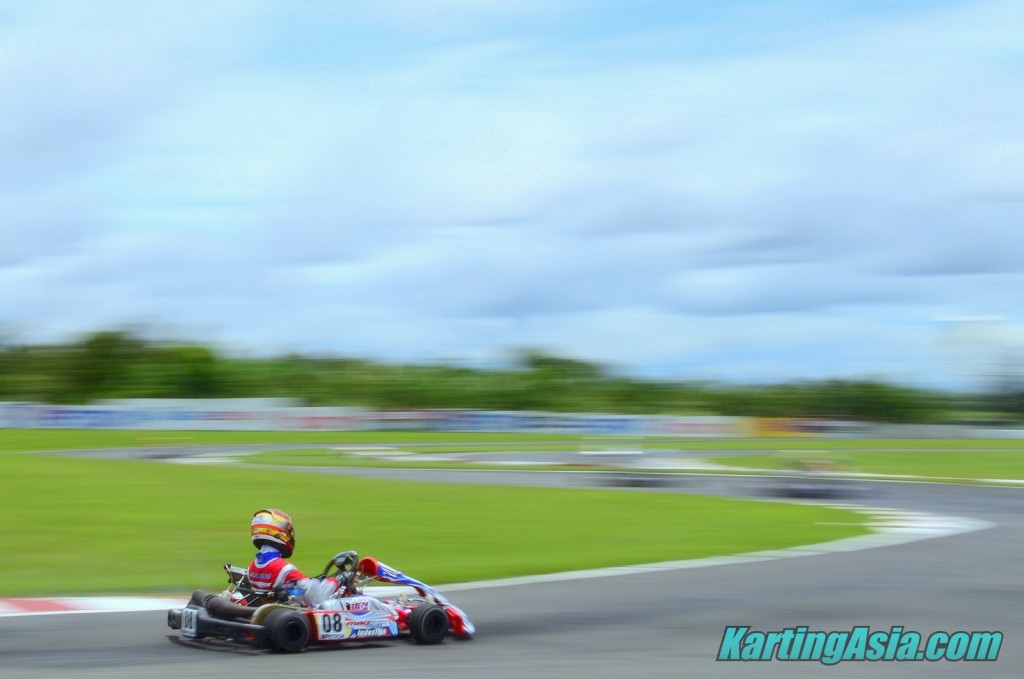
Panning takes a bit of practice. You should put your camera in shutter-priority mode (S on Nikon, Tv on Canon), and choose a shutter speed in the region of 1/100 to 1/200. You can experiment with even slower speeds but your success ratio is likely to go down. Partly it of course depends on how fast the kart is moving – a fast kart at the end of the straight will get plenty of movement in the wheels and background with a shutter speed of 1/200, but a kart going at 30kph will look almost frozen. Using a monopod can give you additional vertical stability and creates crisper pictures.
Aim for a smooth swing when you do panning shots. Follow-through in the same way that you do in a golf or tennis swing, and avoid camera shake by pressing the shutter down smoothly. It’s just like driving a kart; smooth is good. You can take panning shots zoomed in for a tight crop of the kart, or wide open to have much more of the surroundings in view to bring out more of the motion blur.
In general for panning shots you want to set your iso to the lowest setting, because this will give you the largest aperture possible, creating a smoother blurred background with the movement as well narrow depth-of-field working together to blur the background. On most cameras this is ISO 100. A camera with an lower setting is an advantage. This is why you should consider getting your panning shots done when the sun is hidden behind clouds. In the bright sun with a 1/100 shutter speed you will likely need to have the aperture stopped down around f/18, which doesn’t give the same silky smooth background that you can get at larger apertures, and also brings out any dust spots you might have on your sensor.
Lighting
Shooting at an angle into the light. Camera: Nikon D200. Lens: Tokina 300/2.8. Aperture Priority F5, 1/750, ISO 400.
You should always be aware of lighting conditions. Most of the time you should have the sun light behind you, but you should experiment with different angles to find out what they look like and learn when to use each effect. Mid-day sun is generally very harsh, but of course with a racing schedule you don’t always have much of a choice when to take pictures. It’s worth getting to the track early for the great early morning sunshine, and it’s equally rewarding to stay at the track for the great lighting you get as the sun is setting.
As with most things there is no right or wrong, but you do need to learn how to set your exposure compensation for pictures taken into the sun or with the sun behind you. Do you want the kart to be a silhouette when you shoot into the sun, or do you want to overexpose the asphalt and have the kart details visible?
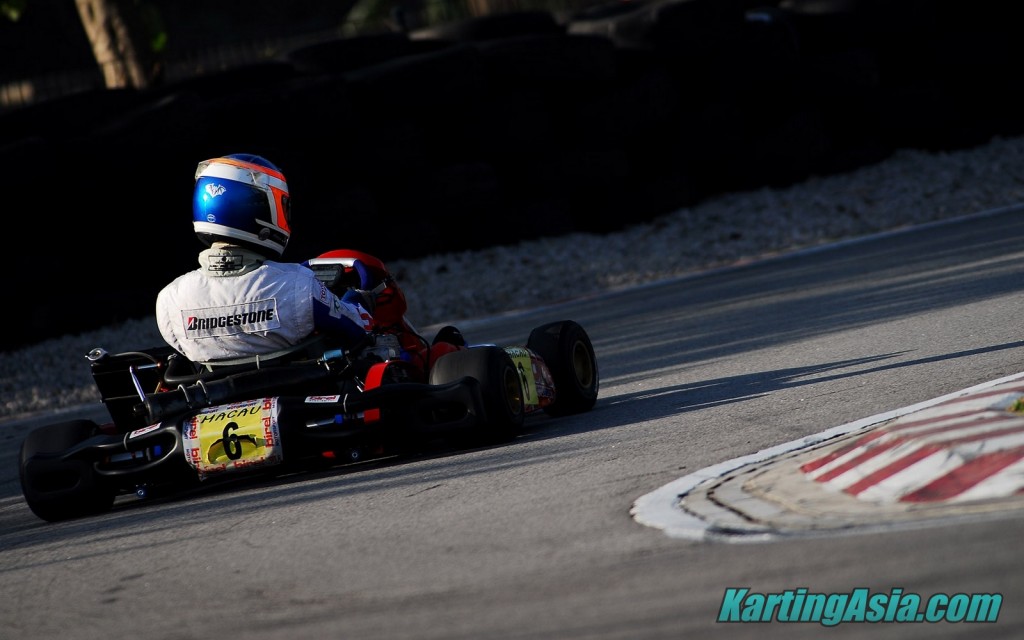
When the sun is low you can find placed where shadows create a contrast. The below picture has trees that shade the background making it almost black, while the sun still hits the driver and the foreground.
Break the Rules
Now that you’ve read the above advice, get out track-side and put them to use. After you’ve done that forget all the advice and do the opposite! Rules are meant to be broken, especially in photography. Develop your own style and as long as you like the pictures, that’s most important.
Useful Beginner’s Info Links:
- Depth of Field – Wikipedia
- Camera Settings, ISO, Aperture, Shutter Speed
- Rule of Thirds, Basic Composition
Check out the above links for some photography basics. Of course capturing the moment is always critical in any kind of photography. In Karting it’s the crashes, the victory celebration, and otherwise great photo opportunities. To ensure that you have the best chance of getting the moment, always have your camera ready and close to your eye. If you have to fumble around turning it on or removing the lens cap the moment is long gone. Have you got any photography tips of your own to share? Don’t forget to share this article with your parents or friends that take pictures of you on track – you might benefit by getting an improved selection of shots at the end of the day ;).
